 Pricing Portal and Prospects
![]()
Overview
This document describes the "Broker Portal - Prospects" system, which allows third-party affiliates to manage pricing and submit prospects for customer enrollment. Affiliates use the Pricing Matrix to filter pricing based on various criteria like market, utility, and customer type. Once a rate is selected, they generate a prospect, fill in required and optional fields, select a Prospect Package, and set the status to "Created". They then input customer information and save. The system emails a PDF agreement for docusign. Affiliates can track prospect status in the Prospect Manager, with statuses ranging from "Created" to "Completed".
 Affiliate Login and Portal Access
![]()
Once a third party affiliate has been set up and given login credentials, they will be able to access the Pricing Matrix and generation through the Pricing Portal.
 Navigating the Pricing Matrix
![]()
The Pricing Matrix screen provides affiliates with access to supplier-designated pricing available for sale. It also enables the submission of deals, referred to as “prospects,” for approval and customer enrollment.
The Prospect List section allows affiliates to track submitted prospects and monitor their current status in real time.
 Step Actions from Reviewing Pricing to Submitting a Prospect
![]()
1. Enter Pricing Matrix Details
![]()
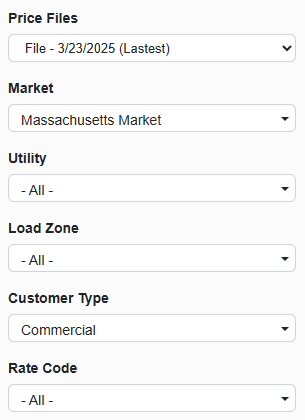
The affiliate (broker/partner) begins by filling in the required fields on the Pricing Matrix screen to price a deal.
|
|
|
2. Search and Filter Pricing
![]()
Click “Search” to apply filters and display available pricing.
Click “Clear” to reset the fields and start over.
- Refine results further by specifying usage tiers and adding broker commission (this will be reflected in the DocuSign agreement).
- Usage Tier will automatically hide from the Pricing Portal view if only one tier is assigned in the Usage Tier setup.
- (Can be hidden) Hide Company Margin From Prices is an administrative function that should only be available to Pricing Portal Administrators who want to see the raw pricing. This permission should be disabled by default to Affiliate users.
3. Select Pricing and Generate a Prospect
![]()
- Once all filters on the left hand of the screen have been selected, the affiliate will now see the pricing available based on the fixed term and customer’s preferred start month.

- Once the customer and the affiliate have agreed on a rate and term, the affiliate should select the rate.

Once a rate is selected, the affiliate should click “Generate”.
4. Configure Prospect Details
![]()
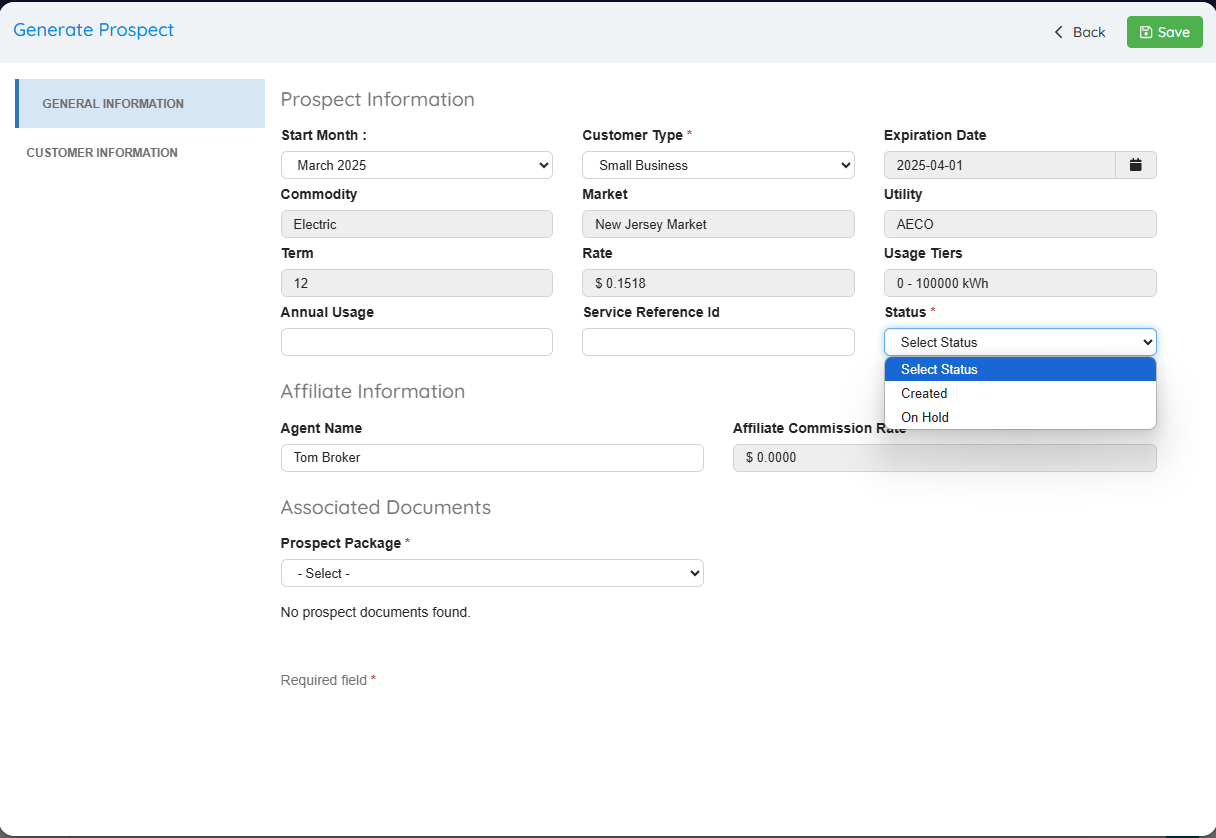
On the Generate Prospect screen, review and confirm the pre-populated fields (auto-filled from prior pricing selections):
- Start Month
- Customer Type
- Expiration Date (based on term selected)
- Commodity
- Market
- Utility
- Term
- Rate
- Usage Tiers
- Agent Name (From the Affiliate set up screen)
- Affiliate Commission Rate (prior screen’s “Add Broker Commission”)
The following fields are optional:
- Annual Usage
- Service Reference ID
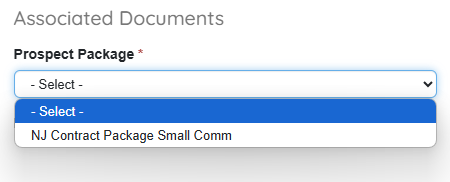
- The Prospect Package determines which documents are included in the agreement PDF (based on the customer’s state and utility).
- Update Status to “Created” or “On Hold (required field).
- If Status is set to "Created" a contract will be created and sent to Docusign for processing when “Saved”
- If Status is set to “On Hold” a contract will NOT be created but the Prospect will be saved to the system until the user is ready to change the status to “Created” and generate the contract which will be sent to Docusign for processing.
- Before saving the Prospect, you should click “Customer Information” in the left menu and enter customer contact details.
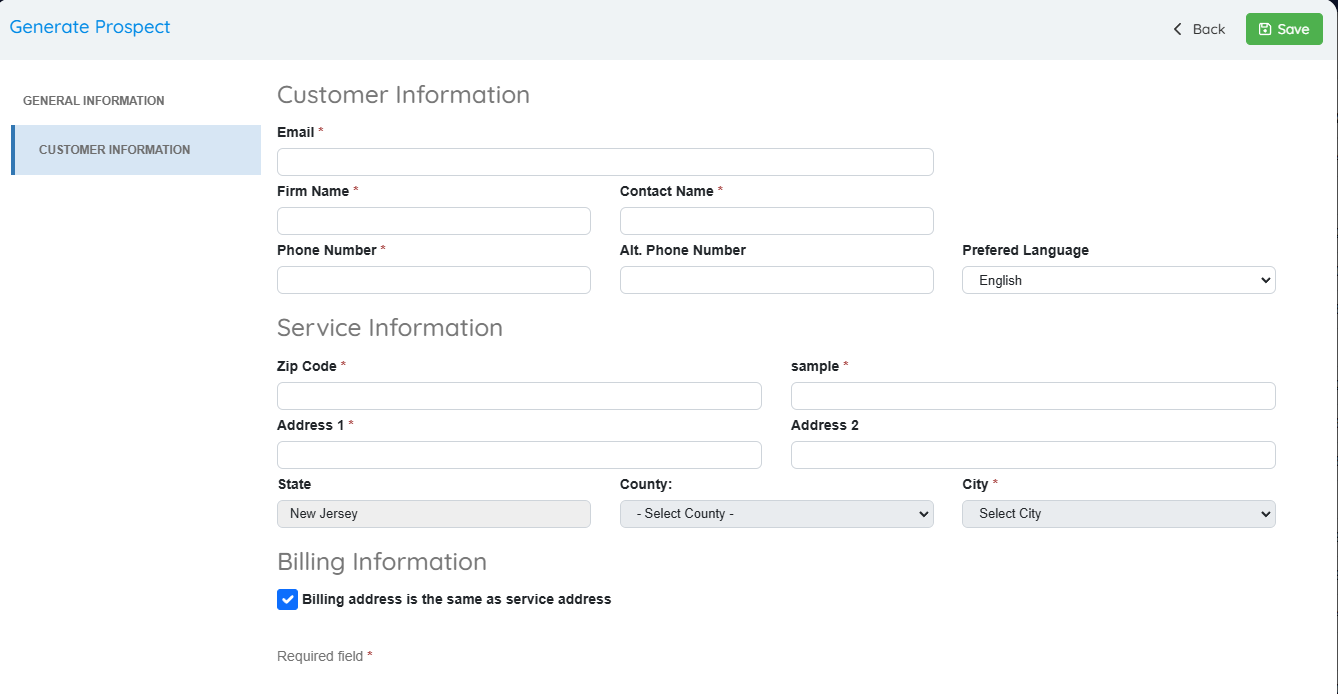
Once completed and “Saved”, you will see a message that confirms that the prospect has been generated.
5. Finalize and Send Agreement (Contract)
![]()
- Click “Save” to generate the prospect.
- A confirmation message will appear, and the system will automatically email the agreement PDF to the customer.
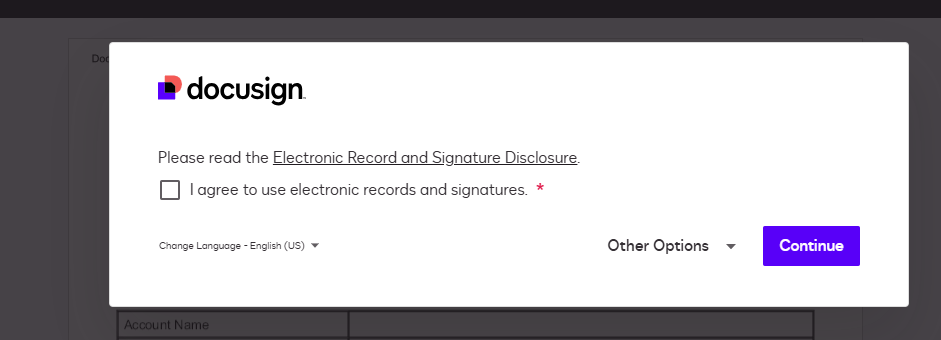
- The customer can sign the agreement via DocuSign.
6. Monitor Prospect Status in Prospect List
![]()
- Navigate to “Prospect List” (top menu) to track all submitted prospects.
- The **Prospect List **displays each prospect’s current status.
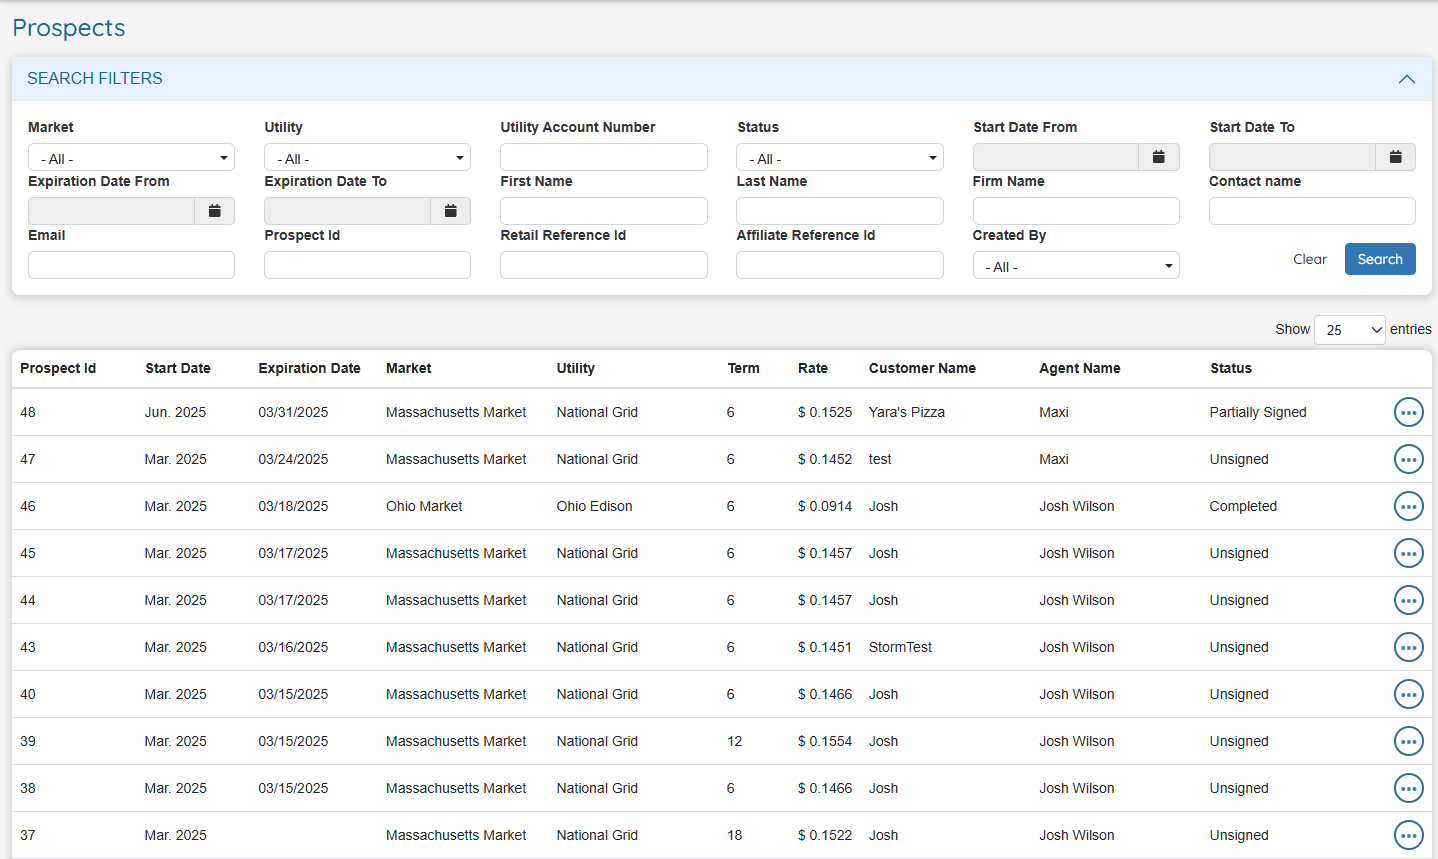
Possible Prospect Statuses:
| Status | Description |
| Canceled | Canceled by either the supplier or affiliate. |
| Completed | Contract signed by both customer and supplier. |
| Created | Deal has been created but not yet signed. |
| Expired | Signed agreement not received before pricing expiration. |
| OnHold | Prospect created, but contract not yet sent to the customer. |
| Partially Signed | Customer has signed, but the supplier has not. |
| Unsigned | Agreement sent to prospect, awaiting signature via DocuSign. |
7. Final Confirmation
![]()
- Once all parties have signed the contract, the status will automatically update in the Portal’s Prospect Manager.
- The deal is now completed, and the prospect is successfully enrolled.
- Once all parties have signed the Contract the status will auto-update in the Portal’s “Prospect Manager”
8. Managing All Prospects as an OpsAdmin User
![]()
- Administrators can access the “Prospect Manager’ inside of the OpsAdmin backend to see all Prospect entries in the system from all users.
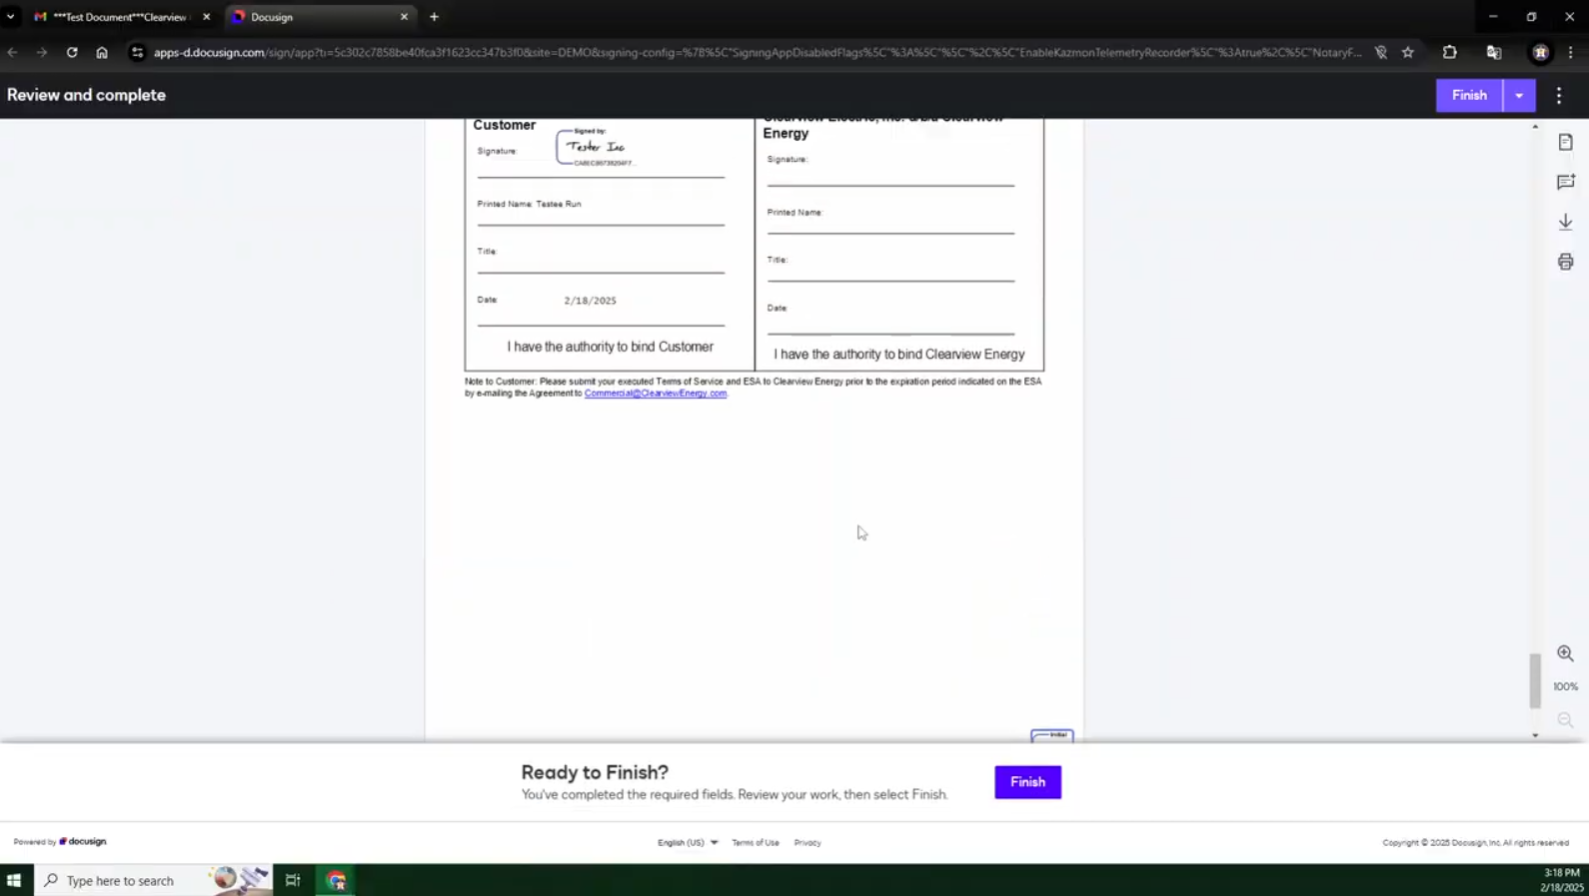
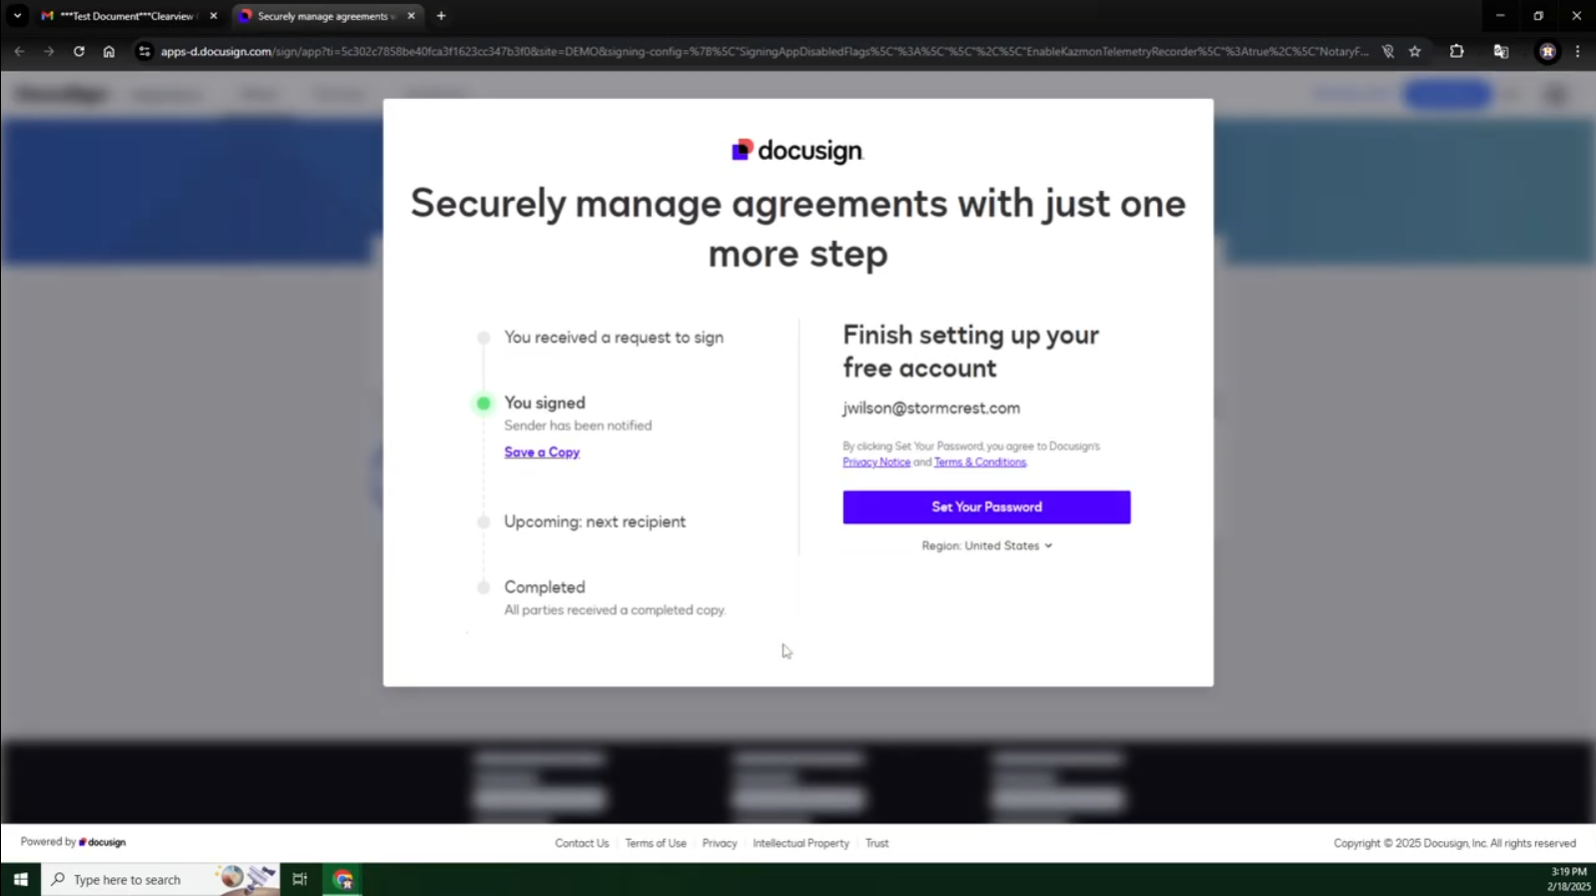
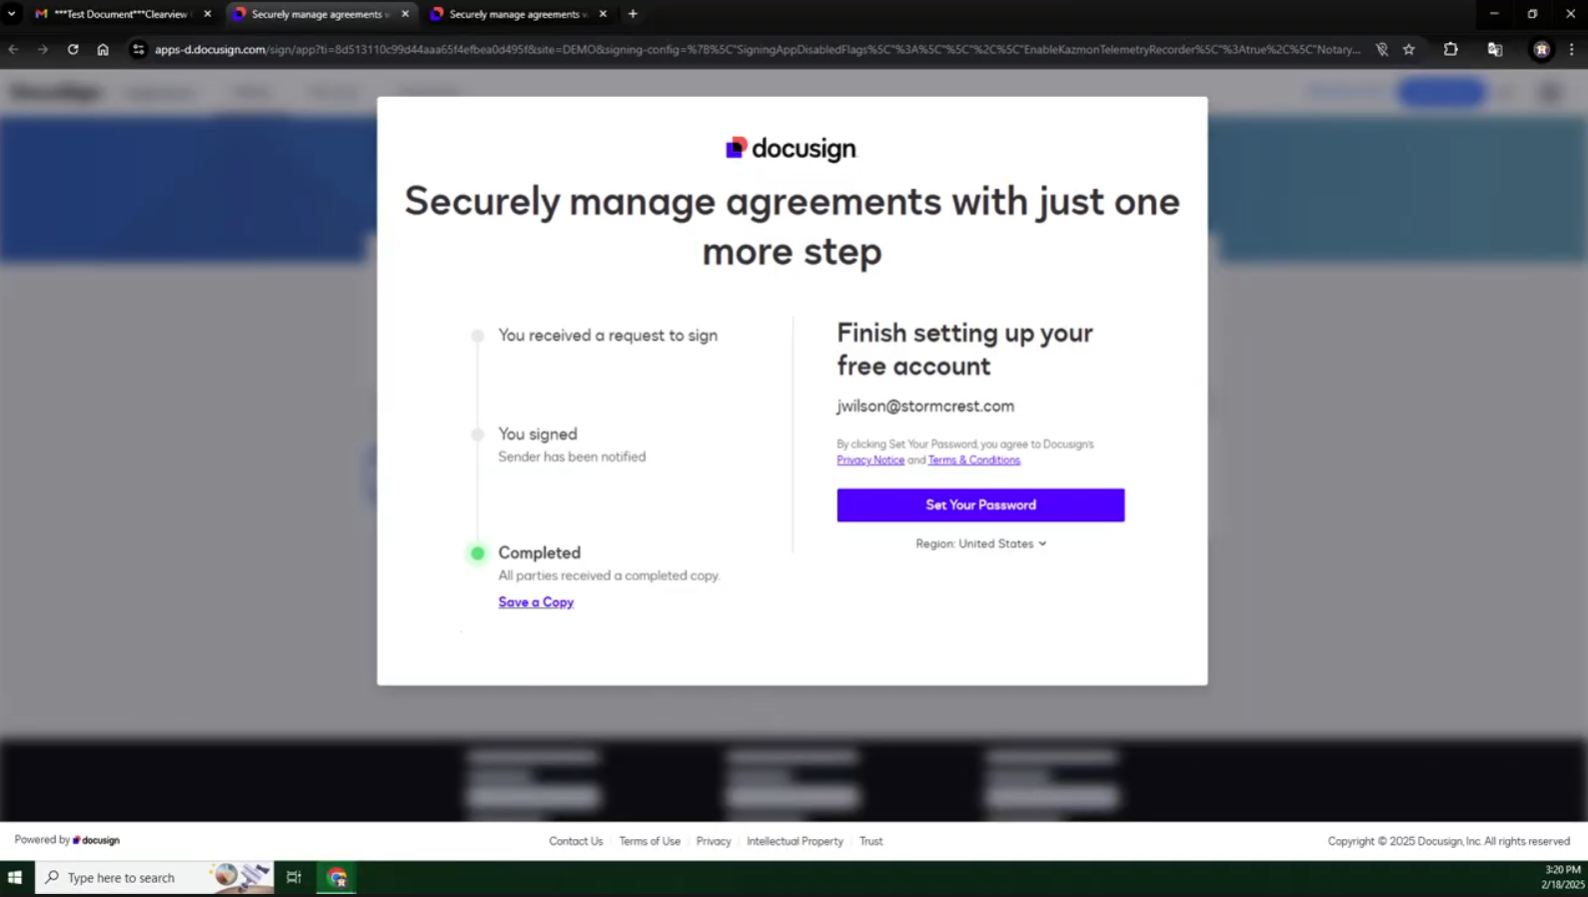
Below are some additional screenshots of what the Docusign process looks like:
